Clipping and Merging Features#
Introduction#
The Geoprocessing Toolbox (available under Analysis -> Tools) contains three data-editing tools that generate new layers by combining, overlapping, or replacing the point, line, and/or polygon features of one existing layer with those of another: Clip, Merge, and Erase. A fourth tool, Append is similar to Merge.
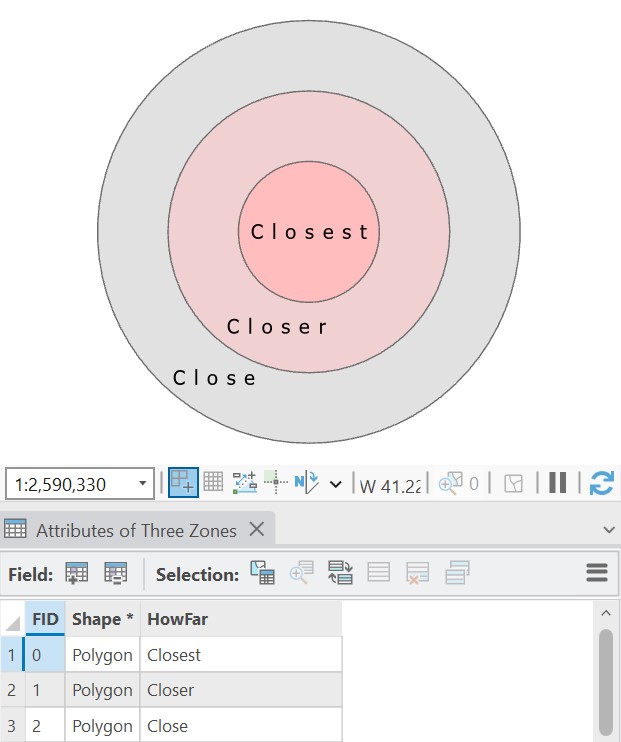
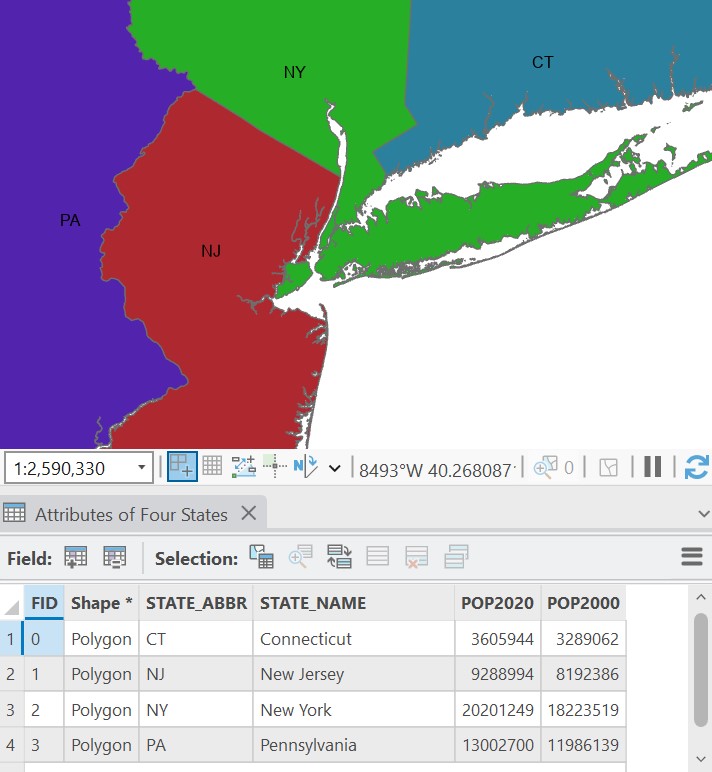
The following are two example input polygons for these tools:
Note that the tools Clip, Merge, Erase, and Append (especially the latter) differ from the Editing tools in that they cannot be undone once they have been executed.
The Clip Tool#
The Clip tool generates a new feature class that retains only those portions of a specified input layer that overlap with any one or more of the features on a specified “clip” layer.
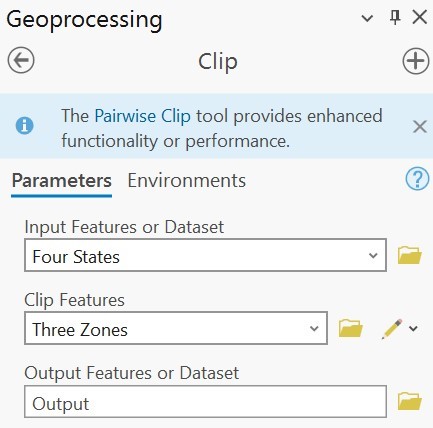
For example, using the Four States layer as an input and the Three Zones as the clip layer, we would generate a new layer like this:

Note that the attribute table associated with the output file retains the same information as the input feature class but not the clip layer.
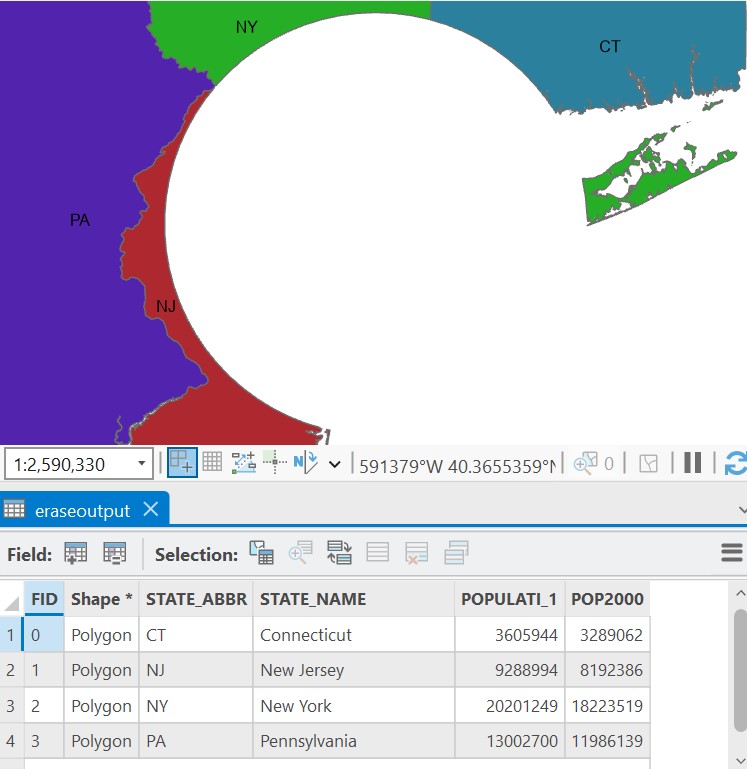
The Erase Tool#
The Erase is essentially the opposite of the Clip tool. Where the Clip tool generates an output where the input and clip layers overlap, the Erase tool erases overlapping features and generates an output outside of the clip layer.
Here is an example using the same input and clip layers as the previous Clip tool. Note that input features under the circle have been removed.
The Merge Tool#
As previously noted, the Clip and Erase tools retain the tabular data associated with the input layer rather than the clip layer. We can instead combine these two layers to include all data from both the input and clip layers. The Merge tool creates a new feature class by combining the features of existing layers of the same type (i.e., point, line, or polygon). Merging the states layer with the three zones layer creates a new layer that combines all features into a single layer.
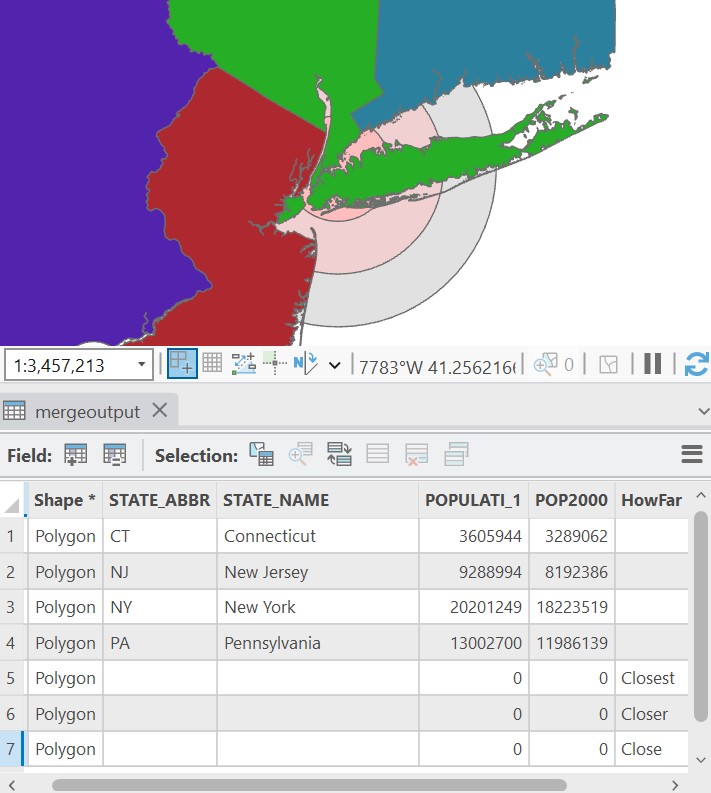
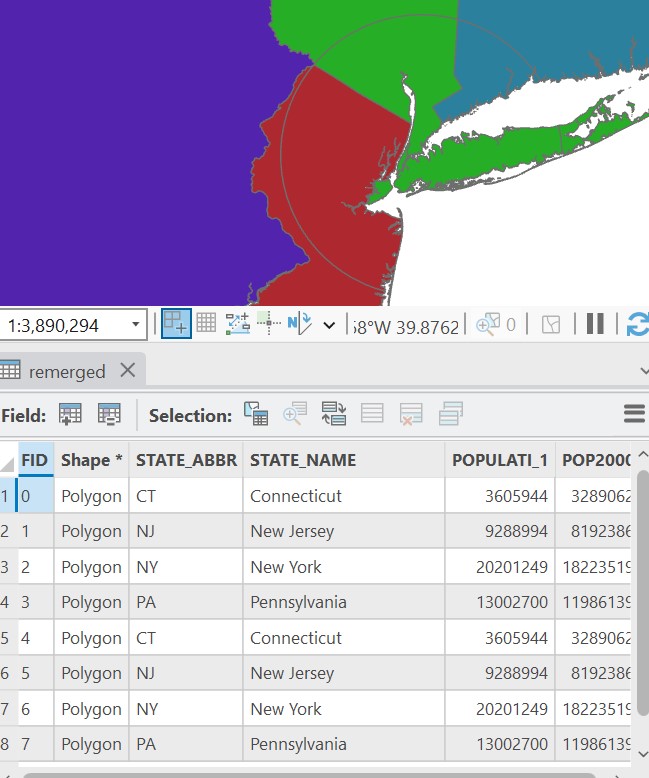
The output is admittedly odd in this example. Generally, the Merge tool is best used to combine relevant data that are meaningfully related. For example, we could use the Merge tool to add the state of Rhode Island to our feature class. Or, we could take the outputs of the Clip and Erase tools to reunite the states to their original format.
Note, however, that we now have a feature class with the parts of the states that overlap with the three zones included as separate attributes.
Merge as an Editing Tool#
The Merge tool in the Geoprocessing toolbox should not be confused with the Merge tool available in the Editing tools. The latter Merge tool can be used to combine layers in similar fashion to the Geoprocessing Merge tool. However the Editing tool is more commonly used to merge multipart features into a single feature or attribute.
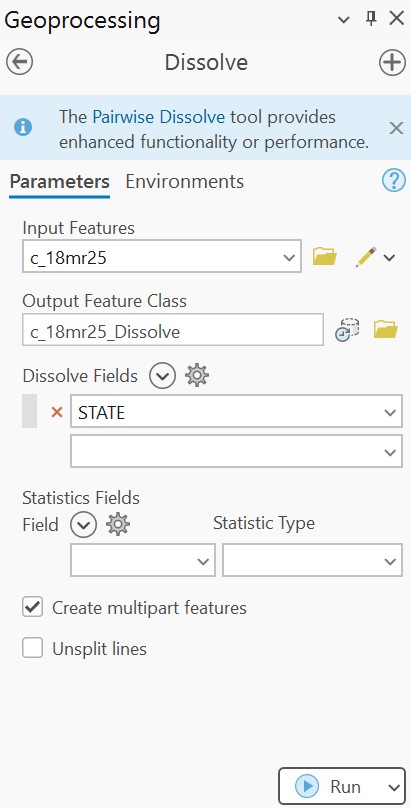
The Dissolve Tool#
Another way to merge records into a single record is with the Dissolve tool. This tool will take a set of records that share a field and combine them into a single record. These records will be grouped based on that shared field For example, a feature class of U.S. counties could be dissolved based on a column named “state” to create a feature class of U.S. states. Or a feature class of excavation units could be dissolved to create a feature class of excavation operations.
The following shows a feature class of counties in the Southeast U.S.:
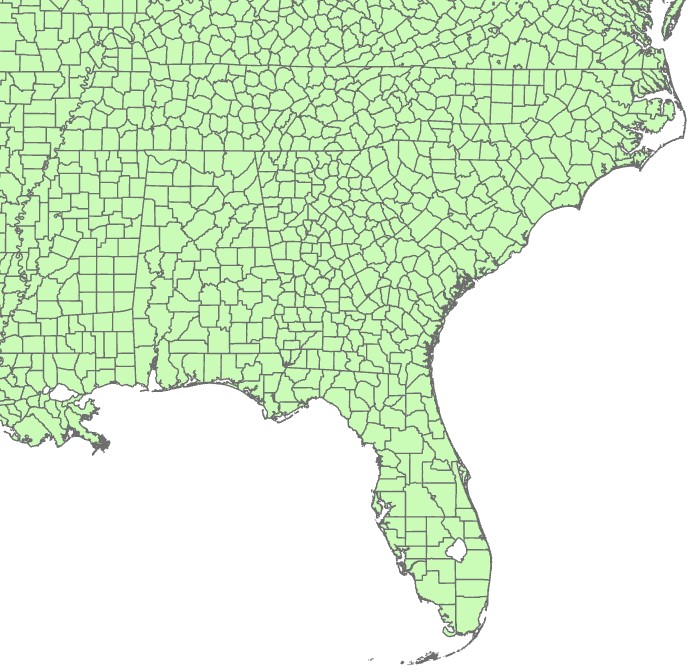
When the Dissolve tool is run with the Dissolve Field set to state, all of the counties within each state are merged together:
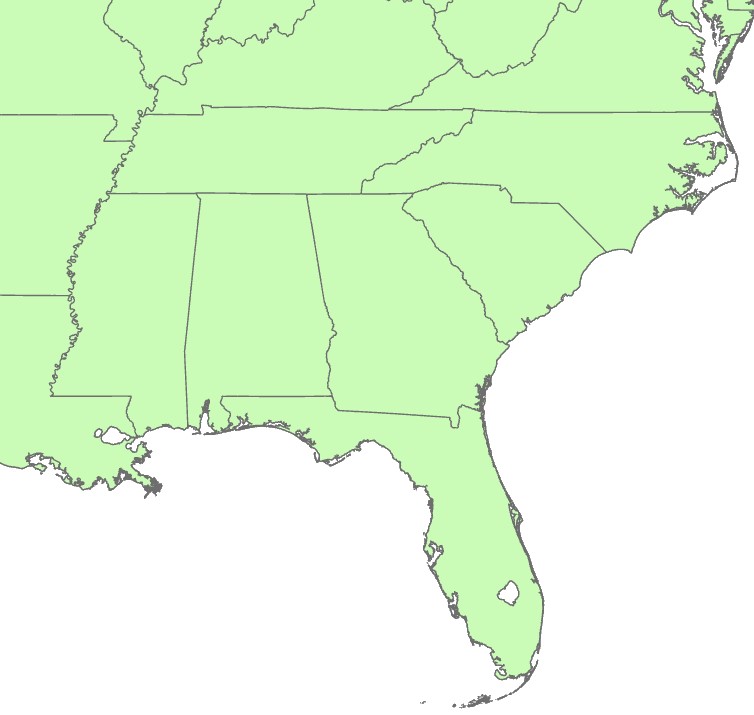
The Append Tool#
The Append Tool essentially shares the same functionality as the Merge tool with the important distinction that while the Merge tool creates a new output feature class, the Append tool adds the new fields to the existing input feature class, modifying the feature class. The Append tool, therefore, will override the original file.