Layouts and Exporting Maps#
Layouts in ArcGIS Pro#
To create a Layout in ArcGIS Pro, you must already have at least one Map Frame in your project. Go to Insert -> New Layout, and select the size and orientation of your layout. You will see a blank page. To add a map, go to Insert -> Map Frame and click either Default Extent or Map. Next, click and drag a rectangle over the blank layout. You can then resize the map to take up a portion of the layout or the whole page.
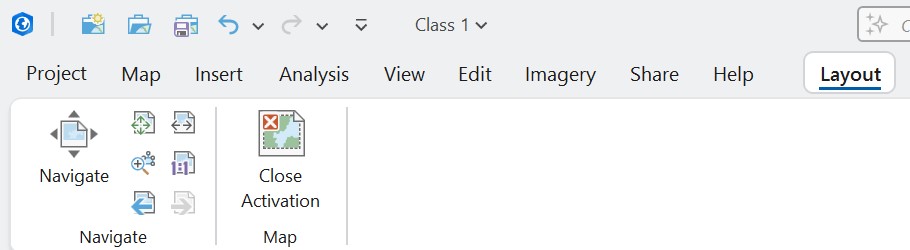
The zoom functions are the same in Layout view as they are in the Map view. However, zooming and panning will only operate on the layout page itself rather than its map frame. To zoom in and out to change the scale of the map frame go to Layout -> Activate. When the map frame is activated, zooming and panning will affect the map frame window. When done, click the Layout box to the right of Insert and click Close Activation.
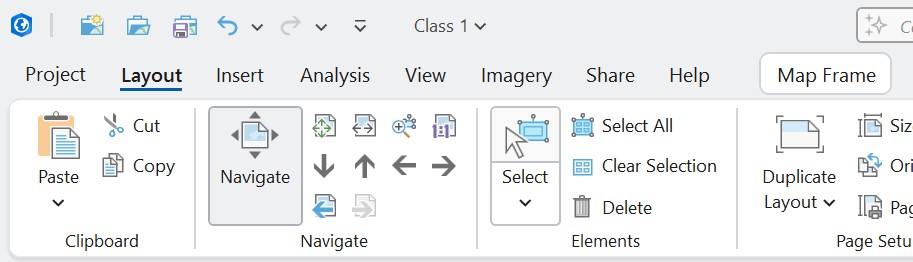
Alternatively, you can more accurately set the scale of your map frame by editing its properties. To the right of Navigate, click the Select button, then click on your map frame on your page layout. Right-click and select Properties. The Element pane should appear, where you can open Display Options. At the bottom, you will see Scale, where you can choose more typical values for map scales, including 1:10,000 or 1:50,000, for example.

To add a north arrow to your layout, select your map frame on the page layout and click the New North Arrow under Insert -> Map Surrounds.
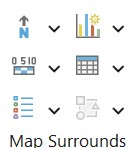
Do the same with New Scale Bar and New Legend. Once added, you can edit your scale bar and legend by selecting them and right-clicking Properties. In the Scale Bar Options, you can adjust map units, labels, and symbols. Under Properties, you can change the number of Divisions and Subdivisions. For Legends, you can turn items on and off in the Contents pane under Layout. Note that turning these items off in the Layout view will not turn the actual layers off but will remove their captions from the Legend. To turn layers on and off, you must uncheck the boxes in the Contents pane listed under Map Frame. To change the labels in the legend, edit the name of the layer in Contents.
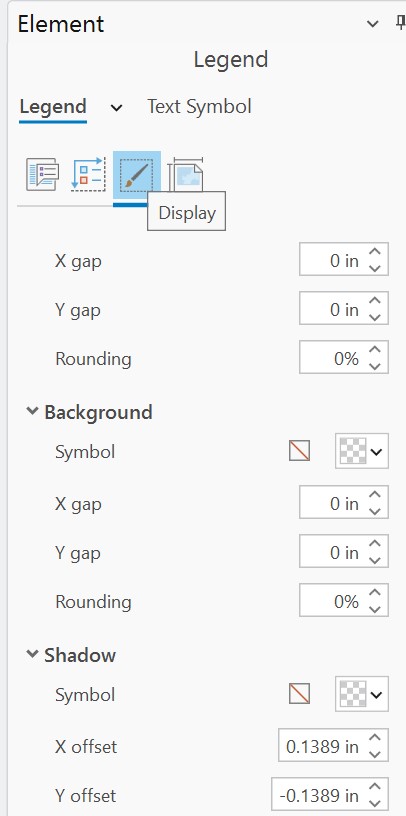
Additional properties can be edited, including the map frame, the legend, scale bar, etc. by selecting the option, right-clicking Properties, then clicking on the Display icon. Here, you can add borders, backgrounds, shadows, etc. to your layout objects.
You can also add non-map graphics, including text and images from the Insert -> Graphics and Text section.
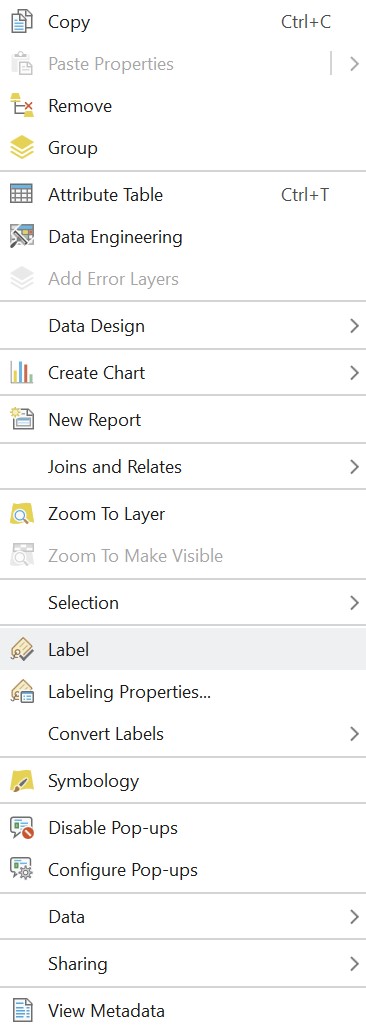
If your data have labels in the attribute table, they can be added to the layout view by right-clicking the relevant layer in Contents and turning on Labels.
To edit the style of the labels, click the Labeling tab while the layer is selected in Contents. Under Label Class -> Field, select where the labels are stored in the attribute table, and under Text Symbol, edit the size and style of the labels. Under Label Placement, define how labels will be placed and visualized, which can be challenging with dense data with multiple overlapping labels.

To add multiple map frames to your layout, you will first have to have multiple map frames. To add additional map frames, select Insert -> New Map. You can then add data as you did before, or you can highlight the data from your first map frame and drag it into your other map frames. In the Layout view, you can then click Insert -> Map Frame, and select your other map frames to add to your layout.
If you would like both map frames to have the same scale, click on one map frame, right-click its Properties, open Display Options, and change Constraint to one of the linked options.

If one of your map frames represents an inset map that forms part of the larger, other map frame, you can add an Extent Indicator. Select the smaller scale map (the one that shows a larger area at a smaller scale), and click New Extent Indicator, and select the map frame representing the larger scale map (the one that shows a smaller area at a larger scale). You should then see a box on the smaller scale map frame marking the extent of the larger scale map. You should also see in the Contents pane that the Extent Indicator has been added. Right-clicking and selecting Properties will give additional options, including adding a Leader line or callout.
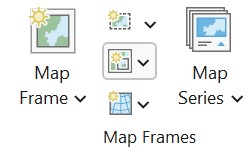
To add a grid or graticule, select the map frame on the page layout, and click Map Frames -> New Grid.
To export your layout, from the Layout window, select Share -> Export Layout. In the Export Layout frame, select the File Type, Name (folder location), set Compression Quality to Max, and Resolution to at least 300 DPI (publication quality). Then click Export.

Print Layouts in QGIS#
The QGIS Documentation provides useful information about working with Print Layouts in QGIS.